Working on a new piece of organizational furniture, I had the realization that the first crosscut sled I made wasn't cutting it anymore. My table saw is built from a Ryobi job site table saw bolted to a custom-built wheeled stand with locking casters. It makes it easy to move it around my small workspace. Being a job site table saw, the table surface is not a big surface.
 Sleddy, my first crosscut sled had a few design issues that made it less than useful for me. First was the screw heads. This was was before I invested in some countersink bits and the screw heads would catch in the table saw's track if I wasn't careful. This sucked by itself, but it wasn't a deal-breaker. Perhaps the biggest flaw is the combination of how short it was combined with having a back fence too.
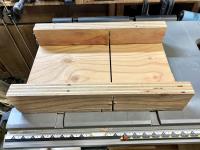
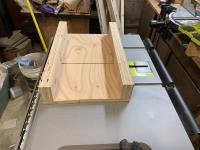
Working on this new organizational project for my workout space, I realized I need to make a new crosscut sled. It had to have a bigger area and with only one fence, so it accommodates even larger payloads. Add in two rails, rather than a single rail, and made from MDF for a much smoother finish. Finish with some sanding and paint job with a directional arrow.
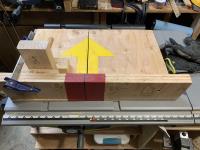
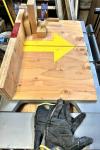
Already, I've seen improvements in the ease of use, the slide action. In the above photos you can see the stop block I use with my miter saw that I had positioned for making drawer faces, which all had to be the same length.
Some improvements I've been thinking about include adding a ruler or gauge to the top of the fence for easy reference and installing a T-track the fence so I can add other clamping accessories.
What have you been working on?
ade45b74-ea89-4e7e-b1ce-ed3ff7c8959d|1|5.0|96d5b379-7e1d-4dac-a6ba-1e50db561b04